Digital Lightbox
Browsing and Loading Images
The Digital Lightbox allows two ways to load images onto the workspace: by browsing the DigiPal DB, or loading images from the local drive.
In order to access the Lightbox from the DigiPal website, you must first add some content to a Collection. From the Collections page you can then send one or more of these to the Lightbox.
Browsing the DigiPal Database
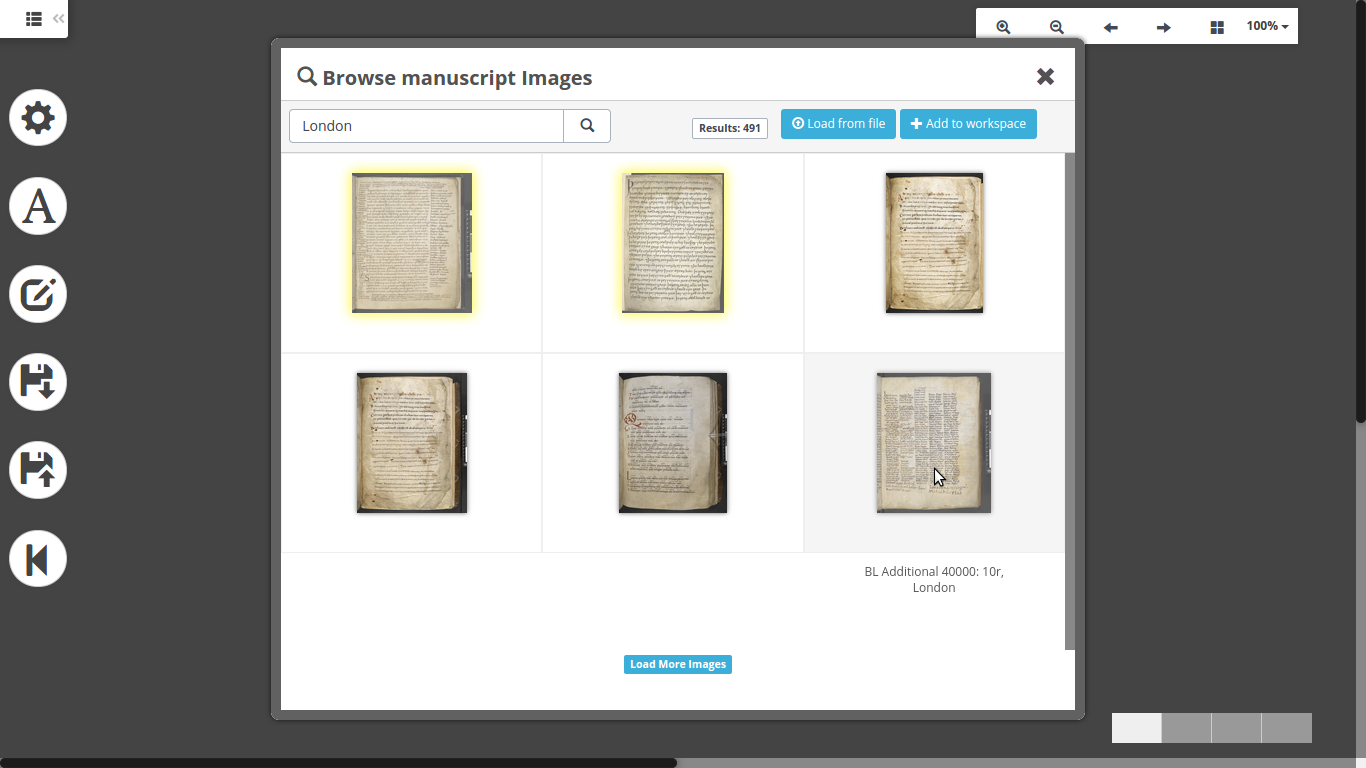
When the Lightbox is loaded without any image from external sources, the browsing window will already be opened to search images. The search engine will search for images based on two properties:
- Place
- RepositoryFor example, users can run the query "London" to search for all manuscripts held in London. By running the query, the images shall appear below the form. This may take some time to complete as the images are very big. To load the images onto the workspace, users will need to select those images and then click "Add to workspace". Selected images have a yellow border.
Loading images from the local disk
It is possible to load images from the local disk by clicking the button "Load from file" (look at the image above).
Selecting Images
Once on the workspace, to work with the images the user will need to select them. There are multiple ways to do so:
- Dragging a lazo over the images area
- selecting/unselecting them one by one by double-clicking on each image
- From the toolbar, using the buttons "Select All/Unselect all).
Selected images work as one: by dragging one image, you will drag them all, and so will do all the other filters.
Tools and Filters
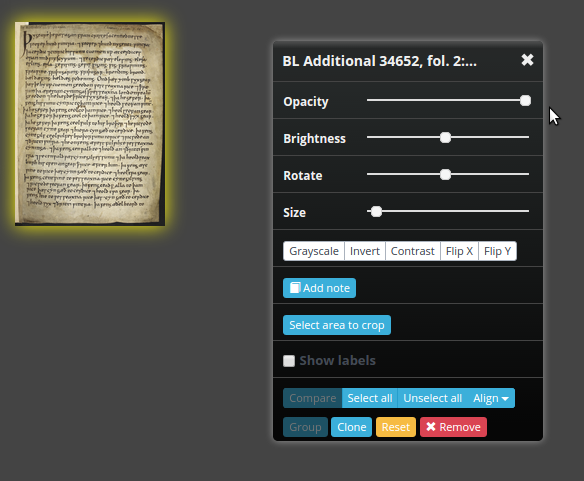
Filters
Here are listed the available filters to manipulate and transform the images on the workspace:
- Opacity
- Brightness
- Rotation
- Size
- Grayscale
- Invert
- Contrast
- Flip X
- Flip Y
See the image to see how the buttons and sliders are positioned:
Cropping regions
It is possible to crop any region of an image selected by clicking "Select area to crop" located in the toolbox. After that, the area to be cropped will be resizable inside the image: after that, the user can either proceed by clicking "Crop", or cancel by clicking "Deactivate", which are two buttons that will appear once the area has been activated.
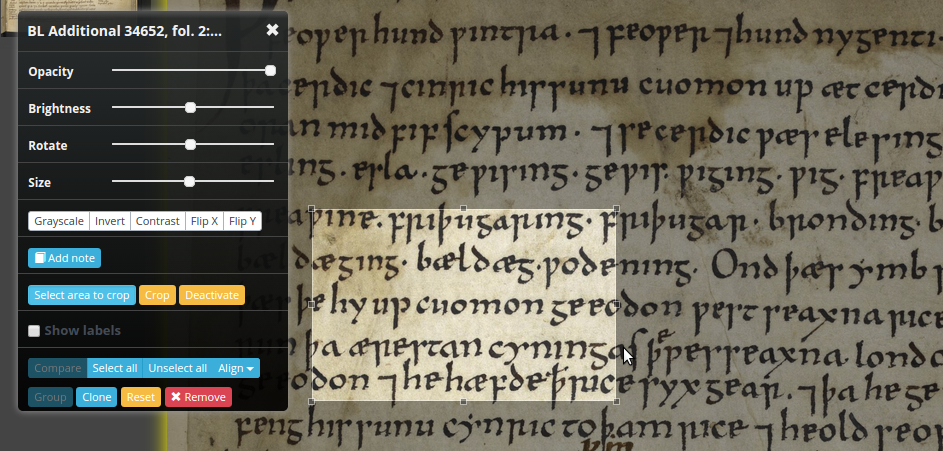
Once an image gets cropped, a window shows the users two choices:
- proceed to see the image
- close the window and continue working
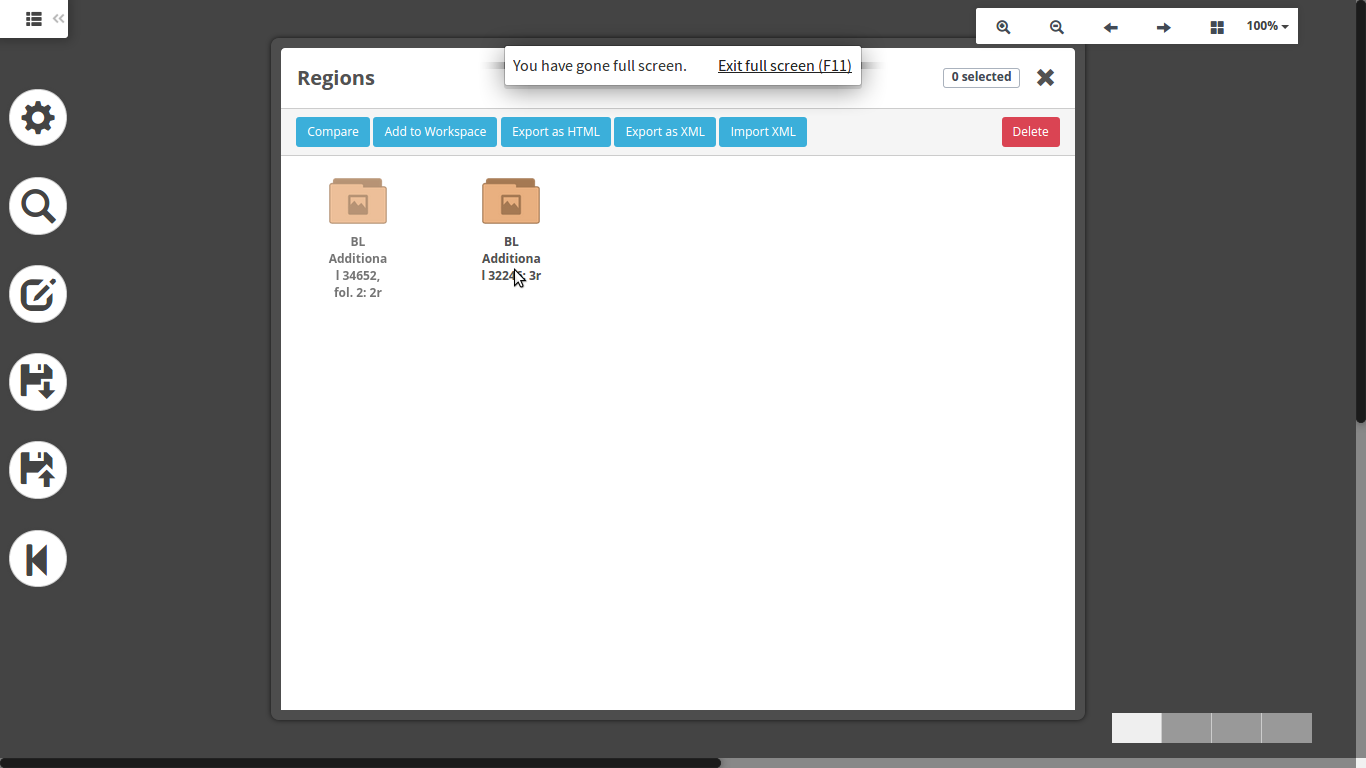
All images are organized in folders. Each folder represent the image cropped: all the images cropped from one image will be placed in the same folder.
Note that it is not possible to crop images when the workspace is zoomed in or out, or when the image is rotated. In both the situations, the image and the workspace will be reset to activate the crop feature.
Grouping items
It is possible to create groups of annotations by selecting at least two images and clicking the button "Group" in the toolbox. Groups have the advantage of remembering the selected images without having to select them all again.
Comparing images
A naive comparison can be done between two images: the button to compare two selected images is located in the toolbox.
Creating Notes
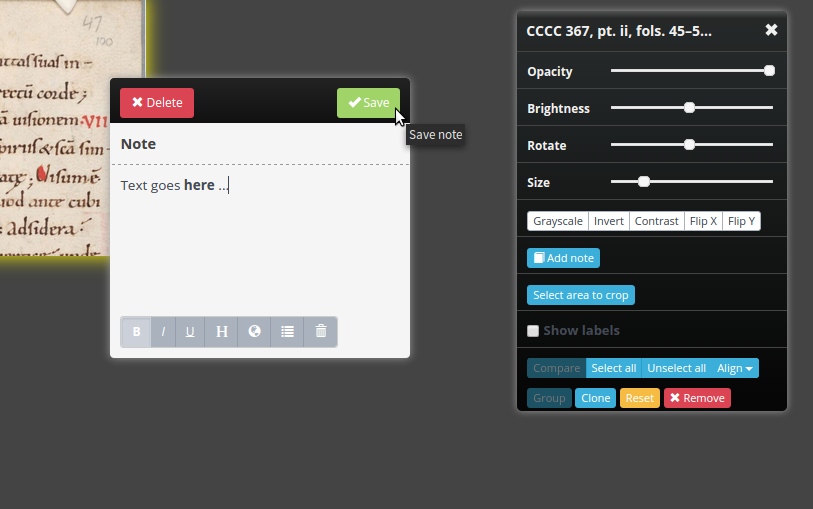
Users can create a note for each image on the workspace. Similarly to the cropped regions, notes are grouped based on the image associated to the note (the one selected when creating the note). It is possible to use a little WYSIWYG editor to format the content. To create a new note, select one image, and from the toolbar click the button "Add Note". A new window will appear, and the user will have two choices: save the note or discard it.
Importing notes to the workspace
Moreover, users can import their notes onto the workspace, and also edit them from there. To do so, go to the notes manager: every note has three buttons (as icons) on the top-right side. They perform three actions:
- Deleting a note
- Importing a note to the workspace
- Editing a note
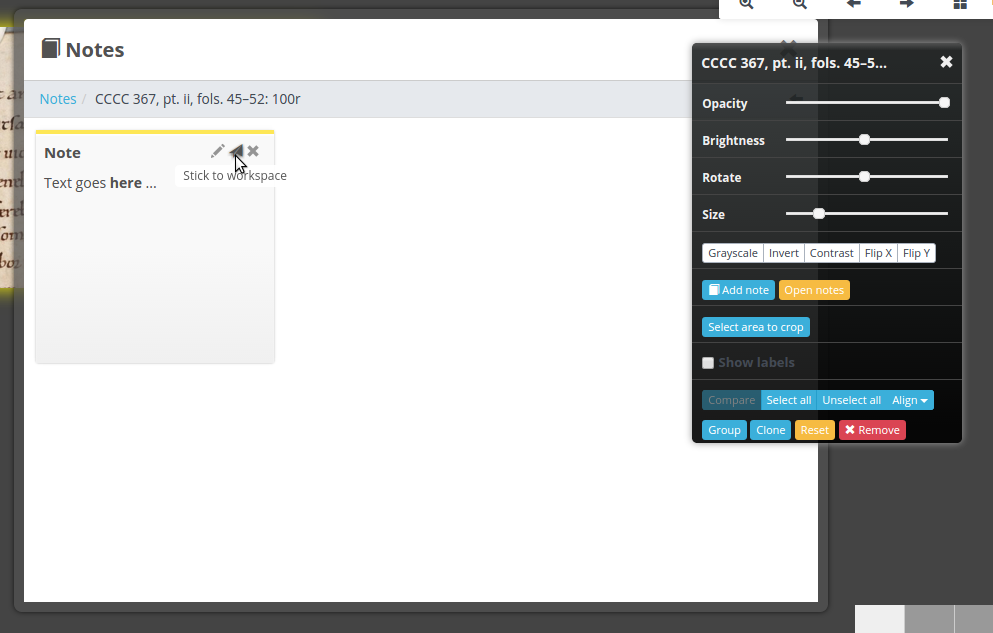
When imported, the note can dragged, resized, selected along with the images, and edited.
Managing cropped letters
Using the Workspaces
The Digital Lightbox has four workspaces users can use to work with their images. All the images loaded, will be inserted in the current workspace selected. Users can change workspace in various ways:
- Ciicking the icons in the bottom-left side of the window
- Displaying the overview and clicking on a workspace
Images can be moved from a workspace to another, by selecting them and dragging them to the icon of the workspace on the bottom-left side of the window.

Importing and Exporting Sessions
The Lightbox allows users to save the current session in the browser's cache and reload it every time they want.
Exporting SessionsTo export the current session, from the main menu on the left, click on "Save current session". The users will be prompted to enter a name for the session. A notification will notify whether the action has been successful or not. Saved sessions are viewable by clicking on the menu entry "Load saved session": sessions have the aspect of folders
Importing Sessions
To import a saved session, click on the menu entry "Load saved session", and then double click on the session you would like to reload. Every item in the current session will be erased.
Limits
- Images cannot be cropped when
- the workspace is zoomed in or out
- the image is rotated
Giancarlo Buomprisco